These sheets are small but mighty. Made from a flexible mylar plastic, they are perfect for adding texture or a painted design to polymer clay. Wipe clean and re-usable.
This organic spots design is approx 9.5 x 13.5 cm
How to use - adding texture
- Roll out the conditioned clay using either a rolling pin or pasta machine. Roll it slightly thicker than what you'd like your final product to be - Apply the sheet to the clay. Press gently to ensure the sheet sticks to the clay and won't slip around - Roll again, either with the roller or pasta machine to the desired thickness. - Gently peel off the sheet to leave the design raised on the clay - cut and bake the clay as normal
How to use - stencil
- Roll out the clay to the desired thickness - Apply the sheet to the clay, taking care to ensure it sticks to the surface with no gaps which would cause the paint to bleed - Put a very small amount of acrylic paint at the top of the sheet, and using something like an old credit card, spread the paint evenly over the design. - Gently peel off the sheet - I recommend leaving the paint to dry before cutting to avoid smudging - Bake the clay as normal - Use a varnish or product of your choice to prevent the paint from scratching
Care
Please be gentle with the sheets. To clean, use a damp cloth or baby wipe. Dry with a microfibre cloth or paper towel. Ensure the sheet is free of dust and lint before applying to the clay.
Check out my other items: https://www.houseofhettyj.etsy.com Note: This item is designed for use with polymer clay only and is not classed as food safe.
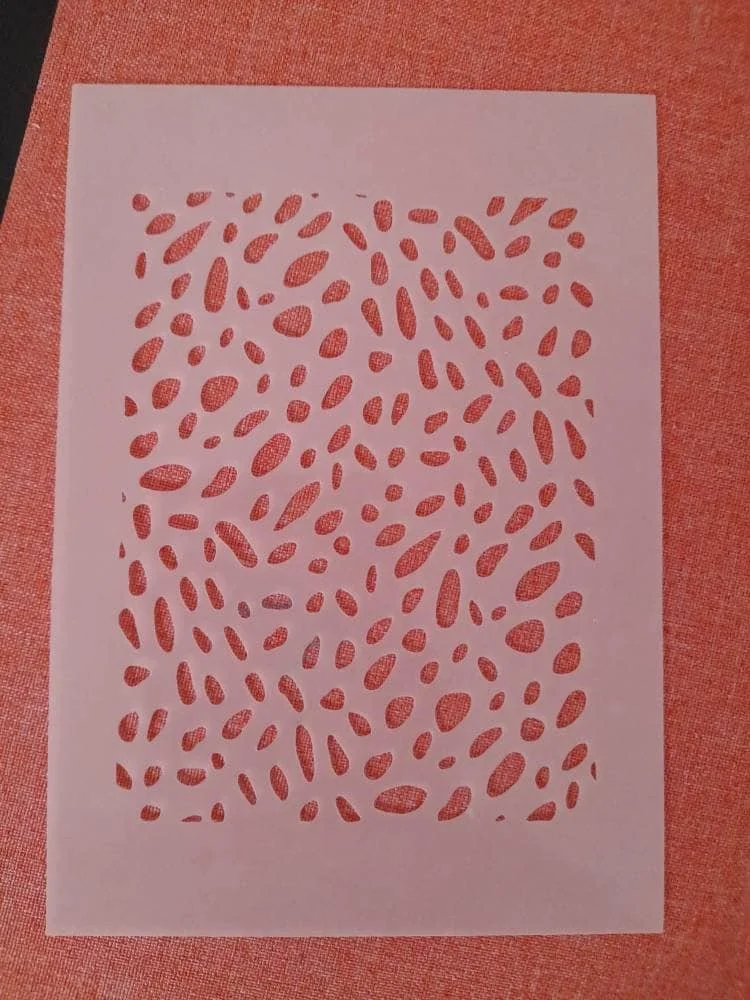 Image 1 of 2
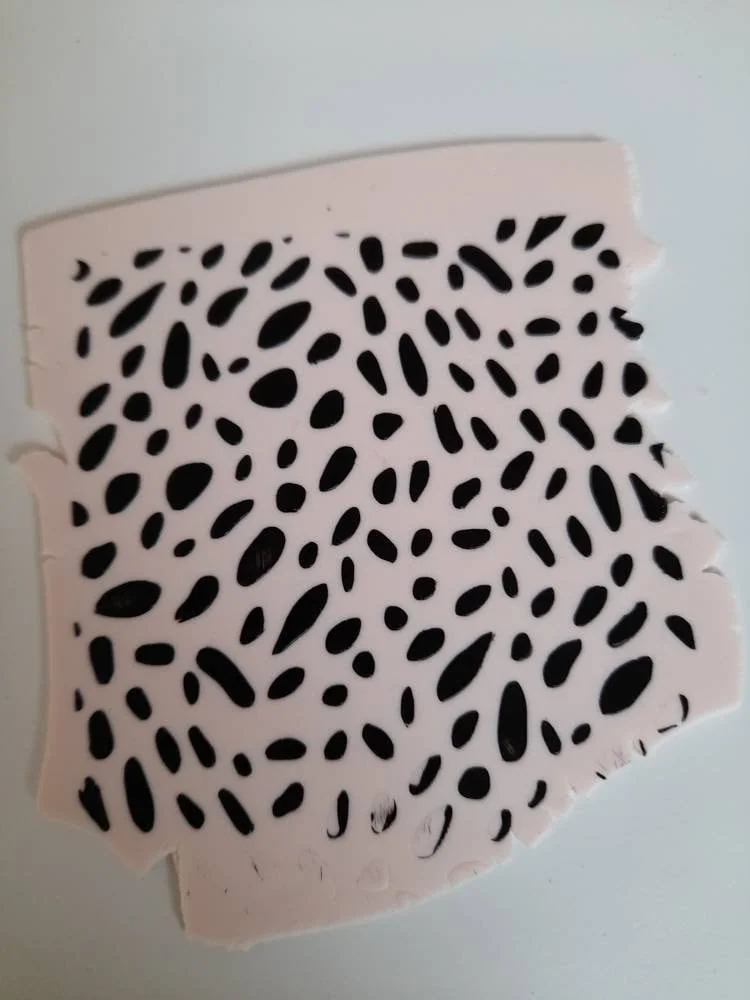 Image 2 of 2